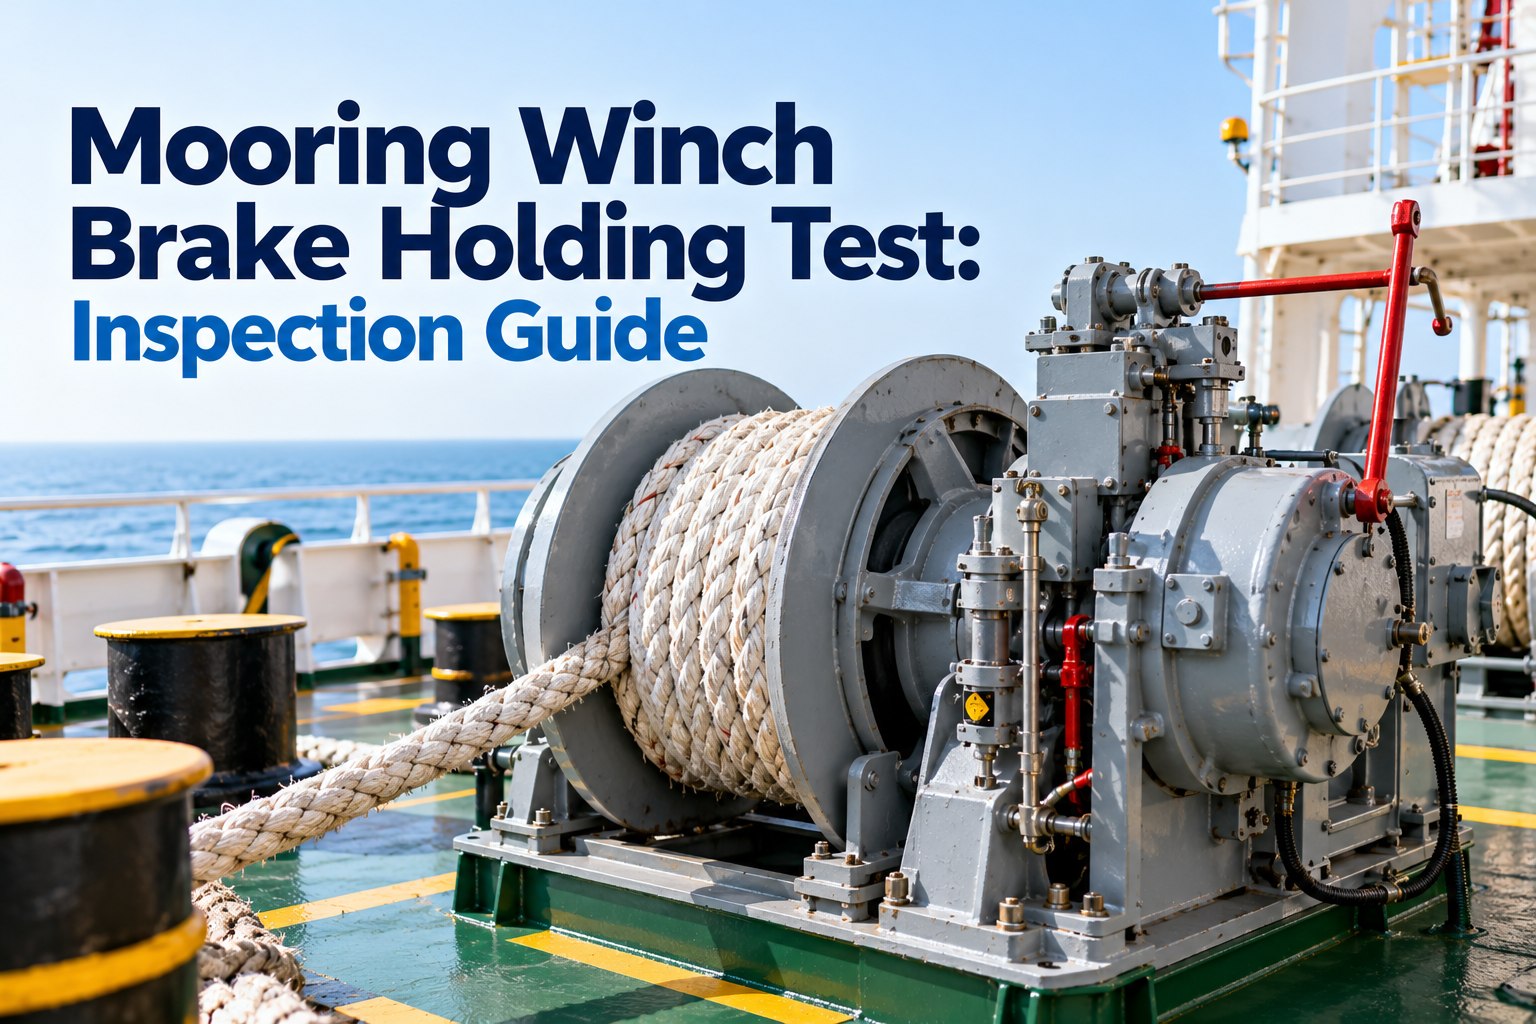
A mooring winch brake test is a load test that proves each winch brake renders, or slips, at the load it was designed to, so the brake gives way before the mooring line or the fittings do. It is usually set at about 60% of the Ship Design Minimum Breaking Load (SDMBL) under OCIMF’s fourth-edition Mooring Equipment Guidelines (MEG4), tested at least annually and marked on the winch. It matters because a brake that holds too much turns the line into the weak link and a brake that holds too little lets the ship move off the berth. Get it wrong and the cost is a parted line, a snap-back injury, a damaged berth or a vetting observation.
Make the brake the weakest link: proving every mooring winch renders where it should
Brake condition checks, render tests, markings and records in one routine that stands up to SIRE 2.0 and RightShip.
Free sign-up · Offline checklists on deck · Signed PDF reports
Every mooring line, fitting and winch on a ship built to MEG4 is designed around one figure: the Ship Design MBL. The winch brake is meant to be the weakest point in that chain, so that under an extreme load it slips and pays out line rather than letting the line part and snap back. The only way to know the brake still does that is to test it, because lining wear, drum condition, brake band adjustment and the way the line is reeled all change the load at which it renders.
This guide is for deck officers and superintendents who run or check those tests. It covers what MEG4 expects, how a mooring winch brake test is done, brake lining and drum inspection, intervals, markings and records, common mistakes and what SIRE 2.0 and RightShip inspectors look for. To schedule tests and keep the evidence on the crew’s phones, you can start recording mooring winch inspections free.
Mooring winch brake test basics: SDMBL, 60% and 80%
Three figures do most of the work. Getting them mixed up is the most common reason a test passes on paper and fails in practice.
Ship Design MBL
The minimum breaking load the ship’s mooring system is designed around, set from the ship’s size. It is fixed for the ship; line strength can vary.
Operational brake holding
The load at which the brake should render in service. RightShip and Prevention at Sea both cite about 60% of SDMBL.
Design brake capacity
The maximum the brake is normally designed to hold. Steamship Mutual notes brakes are typically designed to hold up to 80% of MBL.
OCIMF MEG4 brake test expectations
MEG4 sets out winch brake testing in Section 6, paragraph 6.4.6, and ties brake settings to the ship design MBL. The guidance that operators, P&I clubs and vetting bodies draw from it comes down to a few points:
Brake renders below line strength
The test confirms the brake slips at a load lower than the ship design MBL, keeping it the weakest point in the system.
Test with the maker’s kit
Use the test kit supplied by the shipbuilder or winch maker and follow its instructions, under a responsible trained officer and the ship’s SMS.
Holding is not passing
The brake must slip once the calculated force is exceeded. A brake that holds well beyond it fails the test.
Mark and record
Mark the winch with the test date, force and percentage of SDMBL, and record the setting in the brake test log.
Document deviations
Older ships not built to MEG4 should record their arrangements and deviations in the Mooring System Management Plan.
Summary drawn from RightShip, Prevention at Sea and Samson Rope guidance referencing MEG4. Consult the full MEG4 text and your winch maker’s manual. For the wider mooring chapter of SIRE 2.0, see our SIRE 2.0 mooring inspection preparation guide.
How to carry out a brake holding capacity test
Most ships use a hydraulic jacking kit that applies a measured force to the drum. The detail varies by winch, so the maker’s instructions always come first. A typical sequence:
Prepare
Risk assessment and permit as the SMS requires. Clear the area, brief the team and check the test kit and gauge calibration.
Inspect first
Check the brake band, lining, linkage, pins and drum. Repair any damage or excessive wear before testing.
Calculate the force
Work out the jack force for the target load from SDMBL and the drum geometry, using the first rope layer on a split drum.
Set and apply
Apply the brake as in service, then raise jack pressure steadily while watching for slip.
Find the render point
Note the pressure at which the drum slips. Adjust the brake and repeat until it renders at the target load.
Mark and record
Mark the hand wheel torque or spring setting, label the winch and enter the result in the brake test log.
Why the layer matters on an undivided drum (RightShip figures)
Rendering force relative to the first layer: RightShip notes about 11% less at the second layer and 25% less at the fourth. On undivided drums, ask the winch maker how many layers to base the calculation on.
Every winch, every test, every marking, on one record the vetting inspector can follow
Test dates, forces, torque settings and photos of the markings, scheduled and stored per winch.
Free to start · Works offline on deck · Export to signed PDF
Winch brake lining and drum inspection
Steamship Mutual names lining condition, drum condition, brake setting and correct rope reeling as the main factors in brake capacity. Check them before every test and on routine deck rounds, and give each item a checkpoint type so the record shows what was done.
Brake lining
Wear, glazing, oil or grease contamination, cracks and loose rivets or bonding.
Lining thickness
Against the maker’s minimum; renew before it reaches the limit.
Drum surface
Scoring, corrosion, pitting and heat marks where the band runs.
Band, pins and linkage
Cracks, wear, seized pins and bent links that change how the brake applies.
Brake operation
Applies and releases smoothly; spring-applied brakes release fully.
Rope reeling direction
Line reeled in the direction the maker specifies, which affects holding.
Markings in place
Test date, force, % SDMBL and torque or spring setting visible.
Findings logged
Condition, repairs and parts against the winch in the maintenance record.
Mooring winch brake test intervals: when to test
Most guidance agrees on an annual test, plus extra tests whenever something changes the brake. RightShip adds that testing should never stretch to five years.
At least annually
Steamship Mutual and RightShip both recommend testing at least once a year, or as the winch maker requires if more often.
After brake work
New linings, band adjustment, drum skimming or resurfacing, or any repair to the brake or its linkage.
After unexpected slip
Premature rendering in service or a mooring incident means a retest before the winch is trusted again.
After a line change
New lines of a different diameter. Like-for-like replacements do not need retesting, according to RightShip.
On a new ship
Each winch tested individually, as Steamship Mutual recommends.
Put the annual test and its triggers in your preventive maintenance schedule so a missed test shows up before the inspector finds it.
Brake rendering test markings and records
A test that is not marked and recorded cannot be shown to an inspector, and a mark that has moved means the test needs repeating.
What good records include
- Every winch and drum listed, with its test history
- Calculated force, actual render pressure and adjustments made
- Torque or spring compression setting after the test
- Who tested, with what kit and gauge calibration
- Photos of the markings, which many operators request after each test
- Lining renewals and repairs that triggered a retest
Label fields follow RightShip’s marking guidance; the log contents follow Prevention at Sea and Steamship Mutual.
Mooring winch inspection mistakes that fail vetting
Investigations of incidents in Western Australian ports, quoted by RightShip, found incorrect or non-existent brake render testing a frequent cause of mooring line failure. These are the errors that come up again and again:
Line MBL used instead of SDMBL
The brake is set to the strength of today’s line, not the ship’s design.
Split-drum calculation on an undivided drum
The layer effect is ignored, so the real render load is different.
“It held” recorded as a pass
A brake that never slipped above the target load has failed, not passed.
Locking nuts on the screw
Stops that prevent emergency tightening.
No retest after lining renewal
New linings change friction; the old marking no longer means anything.
Records that do not match the winch
Dates, forces or settings in the log differ from the marking on deck.
SIRE 2.0 mooring evidence: what inspectors look for
SIRE 2.0 inspectors and RightShip assessors look for agreement between the paperwork and the deck. On winch brakes, that usually means:
| Evidence | What they check | Where it comes from |
|---|---|---|
| Mooring System Management Plan | Brake testing procedure, intervals and any MEG4 deviations documented | Ship’s MSMP |
| Brake test records | Every winch tested within the interval, with force, % SDMBL and setting | Brake test log |
| Markings on deck | Labels match the records and the setting has not moved | Each winch |
| Test kit | Kit on board, in good order, gauge calibration current | Ship’s store |
| Crew knowledge | Officers can explain the render point and why the brake should slip | Interview on deck |
| Maintenance history | Lining and drum condition, repairs, retests after brake work | Planned maintenance records |
For the full deck inspection routine, see deck inspection.
How Marine Inspection supports mooring winch brake testing
Marine Inspection keeps one record per winch, from the scheduled test to the photo of the label on deck.
The register is illustrative. Plans scale from one ship to a fleet; see Marine Inspection pricing.
Mooring winch brake test: keep the brake the weakest link
A mooring winch brake test only does its job if it is calculated from SDMBL, proves the brake slips rather than holds, is repeated at least annually and after any brake work, and is marked and recorded so anyone can check it. Do that and the brake protects the crew from snap-back instead of becoming the reason a line parts. Keep the test history and the photos in a digital deck logbook so the evidence is ready before the inspector asks.
Give the vetting inspector a brake test record that matches every winch on deck
Annual tests scheduled, retests triggered, markings photographed and signed reports ready.
Free sign-up · Offline on deck · Signed PDF reports