A hatch cover has one job that matters above all others: to keep the sea out of the cargo hold. When it fails, water finds the cargo, and what follows is some of the most common and expensive cargo damage in shipping — wetted steel coils, spoiled grain, rejected parcels, and claims that dwarf the cost of the maintenance that would have prevented them. Loss of weathertight integrity has been a persistent cause of cargo damage for decades despite every advance in shipbuilding, which is why testing hatch covers is not a formality but a core cargo-protection discipline that deck officers and surveyors return to at every survey and before every loaded voyage into weather. The difficulty is that weathertightness cannot be judged by eye. A cover can look perfectly closed and still leak, because the thing that keeps water out — adequate, even compression of the rubber packing against the compression bar all the way around — is invisible when the cover is battened down. That is why a family of tests exists to reveal what the eye cannot, and why knowing which test proves what is the heart of the subject. This guide explains hatch cover weathertightness testing for the people who carry it out and act on it: the three main test methods and exactly what each one does and does not prove, the components that actually create the seal, the maintenance that keeps them tight, and how class and P&I expectations frame the whole exercise. To schedule hatch cover tests, record the results and keep the weathertightness evidence class and charterers ask for organised across your fleet, start a free trial or book a demo.
INDUSTRY GUIDE · CARGO PROTECTION
Hatch Cover Testing: Ultrasonic and Chalk Test Methods for Cargo Protection
A working guide for deck officers and surveyors to proving hatch cover weathertightness — the chalk, hose and ultrasonic methods and what each actually proves, the sealing components that keep water out, the maintenance that keeps them tight, and the class and P&I expectations behind it all.
≤ 12 months
Weathertightness testing interval under IACS Recommendation 14
Ultrasonic
The method preferred by P&I clubs and recognised by class
Compression
Not contact, is what actually keeps water out
Why the Eye Is Not Enough
The seal on a hatch cover is made by rubber packing set into the cover being pressed down onto a steel compression bar on the coaming, with enough force, evenly, around the entire perimeter and along every cross joint. Water is kept out not by the cover being closed but by that packing being adequately compressed everywhere. A visual inspection — the essential first step — can reveal misalignment, corrosion, damaged packing and worn compression bars, but it cannot confirm that compression is adequate once the cover is shut, because the sealing line is hidden and under load. This is the central problem the tests solve, and it is why a cover that passes a glance can still let the sea in.
It also explains a distinction that runs through everything below: the difference between testing contact and testing weathertightness. Some methods only confirm that the packing touches the bar; others confirm that water actually cannot get through. Confusing the two is how a cover gets declared sound on the strength of a test that never measured the thing that matters.
The Three Test Methods Compared
Three methods dominate hatch cover testing, and the right way to understand them is side by side, because they differ sharply in what they prove, when they can be used, and how much confidence the result deserves. The table lays out the comparison that should drive method choice.
| Aspect |
Chalk test |
Hose test |
Ultrasonic test |
| What it proves |
Contact only — that packing meets the bar |
That water does not pass at that joint |
Weathertightness with measured compression |
| Measures compression |
No |
Indirectly |
Yes, as numerical readings |
| Locates the leak |
Shows contact gaps |
Roughly, by ingress point |
Exact location and relative severity |
| Works when hold loaded |
No |
No |
Yes |
| Weather dependent |
Dry weather only |
Yes |
No |
| Recognised by P&I / class |
Supplement only |
Accepted, with conditions |
Preferred method |
CHALK
The chalk test — contact, not tightness
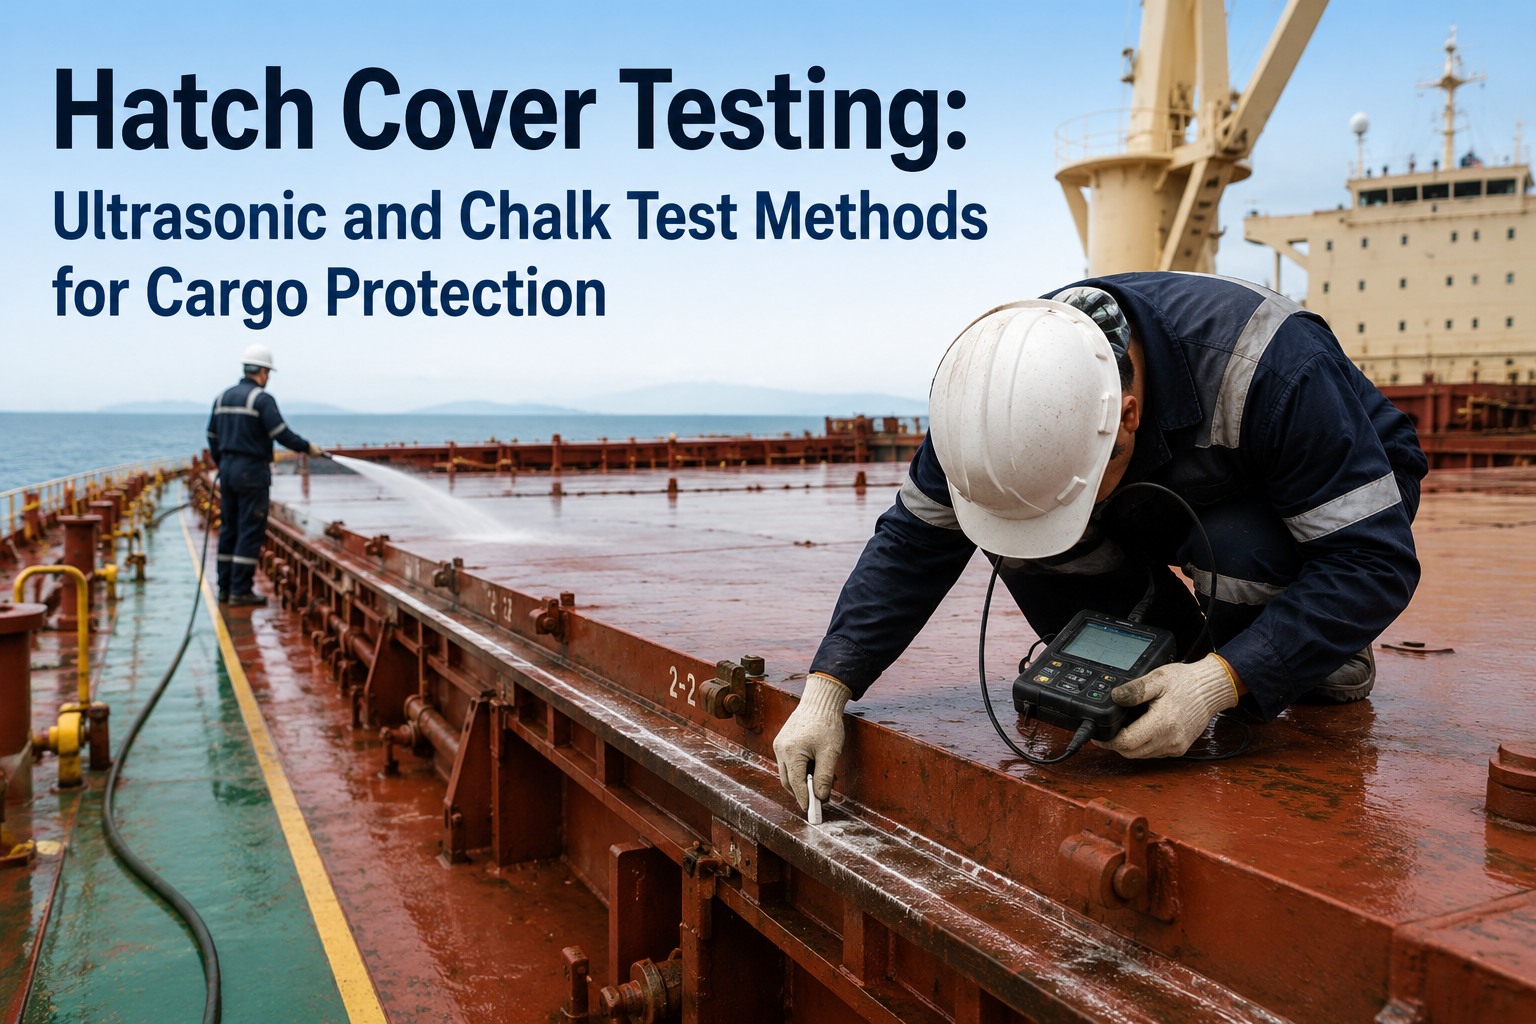
Chalk is applied along the top edge of the compression bars, including the coaming and cross-joint bars, then the covers are closed, secured and reopened, and the rubber packing is examined for a continuous chalk mark. A break in the mark shows where the packing is not making contact. It is the most rudimentary method, useful for checking alignment and finding gross contact gaps, and it works in sub-zero conditions or where deck contamination rules out water. But it gives no indication of how much compression there is — only that contact exists — so it is not a test of weathertightness and is best treated as a supplement. It is also time-consuming, needing the covers opened, chalked, closed and reopened.
HOSE
The hose test — real water, real limits
A powerful jet of water is directed at the closed hatch joints and any ingress is looked for inside the hold. The recognised procedure uses a hose of roughly 20 to 50mm with a 12mm nozzle held about 1 to 1.5 metres from the joint, moved along it at about one metre every two seconds, with the conditions set out in IACS Recommendation 14. It directly demonstrates whether water passes, which the chalk test cannot, but it is weather-dependent, cannot be used with the hold loaded, struggles to test horizontal surfaces effectively, and depends heavily on water pressure and the angle held. It confirms a leak but locates it only roughly.
ULTRASONIC
Ultrasonic testing — the preferred method
An electronic signal generator is placed inside the closed, secured hold and a sensor is passed around the outside of all compression joints; where compression is low or a gap exists, ultrasound passes through and the sensor reads it, giving numerical values that pinpoint the exact location and relative severity of any weak point. It overcomes most limitations of the other methods: it can be carried out with holds loaded, is independent of weather, and measures compression rather than mere contact. It is the method preferred by P&I clubs and the only one many recognise for determining weathertightness, and the equipment is covered by class requirements such as IACS UR Z17 and DNVGL-CP-0484.
Read together, the hierarchy is clear: chalk checks contact, hose checks that water does not pass at a joint under favourable conditions, and ultrasonic measures the compression that actually determines weathertightness under any conditions. The methods can be combined, but where a real judgement of weathertightness is needed, ultrasonic is the one that measures the thing that matters. To log which method was used on which hatch, with the readings and pass or fail attached, start a free trial or book a demo.
Do not rely on the chalk test alone
The chalk test is the one most likely to create a false sense of security, because a continuous chalk line proves contact but says nothing about whether the packing is compressed enough to stop water under a boarding sea. A cover can pass a chalk test and still leak. Treat chalk as a quick contact check and a supplement to, never a replacement for, ultrasonic verification when weathertightness is the question being asked.
The Components That Make the Seal
Testing tells you whether the seal works; maintaining the components is what makes it work. A hatch cover's weathertightness depends on several parts acting together, and a weakness in any one lets water in regardless of the others.
Rubber packing
The gasket that forms the seal. Its condition is critical — hardened, cracked, permanently deformed or over-compressed packing cannot seal no matter how hard the cover is cleated down. It is inspected for condition and permanent set and renewed when it can no longer recover its shape.
Compression bar
The steel bar the packing presses against to form the seal. A worn, corroded or deformed bar prevents even compression and cuts or grooves the packing. Its straightness and surface condition directly govern whether the seal is continuous.
Coaming and cross joints
The raised structure around the hold opening and the joints between cover panels. Perimeter and cross-joint sealing must both be sound; corrosion, cracks or deformation in the coaming or at cross joints opens leak paths that no amount of cleating closes.
Drainage channels and non-return valves
Channels along the cross joint and coaming that carry away any water that does get past the first line, with non-return valves preventing backflow. Blocked or corroded channels let water pool and find its way in, so they are cleaned and kept clear of rust scale and cargo debris.
Cleats and clamping devices
The securing devices that hold the cover down and set the compression. They are checked for wastage, adjustment and the condition of their rubber components, because loose cleats let the cover lift and lose its seal in a seaway.
Locating devices
The stoppers and guides that position the cover correctly on the coaming. Distortion or wear here misaligns the packing over the bar, so the seal is offset before compression is even applied.
Maintenance That Keeps Covers Tight
Most hatch cover leaks trace back not to a sudden failure but to gradual neglect of the components above. A few maintenance disciplines prevent the majority of weathertightness problems, and one common instinct actually makes things worse.
Do
Clean drainage channels before every closing and keep them free of rust scale and cargo debris
Inspect rubber packing regularly and renew it once it hardens, cracks or takes a permanent set
Keep compression bars straight, clean and free of corrosion so compression is even
Repair damaged drainage channels promptly and paint them to prevent corrosion
Check cleats for wastage and correct adjustment, and maintain their rubber components
Ensure weathertightness without extra sealants first, using tapes or foam only as a last resort
Do not
Overtighten cleats in the belief it improves compression — it is counterproductive
Rely on sealing tapes or foams to mask a packing or bar that should be repaired
Mix new and old cleats unevenly, which can overload isolated cleats and cause sequential failure
Close covers over dirty or debris-filled drainage channels
Treat a passing chalk test as proof of weathertightness
Leave hardened or deformed packing in service because it still makes contact
Overtightening cleats does not help
There is a common misconception that cranking the cleats down harder gives better compression and a tighter seal. It does the opposite: overtightening restricts the flexibility the hatch cover system needs to work, can damage the packing and the securing gear, and does not improve weathertightness. The correct compression is designed into the system and set by properly adjusted, sound cleats — not by force. If a cover will not seal at correct cleat tension, the answer is to repair the packing, bar or alignment, not to tighten harder.
Survey and Class Expectations
Hatch cover weathertightness sits inside a clear framework of class survey and industry expectation, and understanding it explains the cadence of testing and inspection.
IACS Recommendation 14 calls for weathertightness testing at intervals not exceeding twelve months, so hatch covers are tested at least annually, and the results form part of the evidence a vessel is cargo-worthy. At each annual survey, class examines the hatch cover set in detail: the cover panels, side plates and stiffener attachments by close-up survey for corrosion, cracks and deformation; the sealing arrangements of perimeter and cross joints, including gaskets, compression bars, drainage channels and non-return valves; the clamping and cleating for wastage, adjustment and rubber condition; and the locating devices for distortion. Where covers or coamings undergo substantial repair, the strength of securing devices is expected to meet IACS UR S30, and operators are cautioned that replacing only some cleats can unbalance old and new, overloading isolated cleats and risking sequential failure. Ultrasonic testing is the method P&I clubs prefer and many recognise, and the test equipment must meet class requirements such as IACS UR Z17.
Around all of this sits documentation. Proper records of hatch cover inspections and tests are what demonstrate compliance with safety standards and cargo-worthiness to class, charterers and, when a wet-damage claim arises, to the surveyors investigating it. A cover that was genuinely tight but cannot be shown to have been tested is exposed in a way that good record-keeping avoids. For the deck officer and surveyor, then, hatch cover work is a loop: inspect the components, maintain them, test weathertightness by the method that actually measures it, and record the result — repeated on the annual cycle and before loaded voyages into weather, so cargo stays dry and the vessel stays demonstrably cargo-worthy. To keep hatch test schedules, ultrasonic readings and the weathertightness record organised and retrievable across your fleet, start a free trial or book a demo.
Frequently Asked Questions
What is the best method for testing hatch cover weathertightness?
Ultrasonic testing is the preferred and most reliable method, favoured by P&I clubs and recognised by classification societies. A signal generator is placed inside the closed hold and a sensor scans the compression joints from outside, giving numerical readings that pinpoint the exact location and severity of any weak point. Unlike the chalk and hose tests, it measures actual compression rather than mere contact, works with the hold loaded, and is independent of weather. The chalk and hose tests remain useful as supplementary or situational checks, but ultrasonic is the method that measures what actually keeps water out.
What does the chalk test actually prove?
Only that the rubber packing is making contact with the compression bar. Chalk is applied to the compression bars, the covers are closed and reopened, and the packing is checked for a continuous chalk mark — a break shows a gap in contact. Crucially, it gives no indication of how much compression there is, so it is not a test of weathertightness: a cover can show a perfect chalk line and still leak because the packing is not compressed enough to stop water. The chalk test is best used as a quick contact and alignment check and a supplement to ultrasonic testing, never as a substitute for it.
How is a hose test carried out?
A powerful jet of water is directed at the closed hatch joints while someone checks inside the hold for ingress. The recognised procedure uses a hose of about 20 to 50mm fitted with a 12mm nozzle, held roughly 1 to 1.5 metres from the joint and moved along it at about one metre every two seconds, under the conditions set out in IACS Recommendation 14. It directly shows whether water passes, but it is weather-dependent, cannot be used with the hold loaded, cannot test horizontal surfaces well, and depends on water pressure and angle — and it locates a leak only roughly compared with ultrasonic testing.
How often must hatch covers be tested?
IACS Recommendation 14 calls for hatch cover weathertightness testing at intervals not exceeding twelve months, so covers are tested at least annually. In addition, class examines the full hatch cover set at each annual survey — panels, sealing arrangements, cleating and locating devices — and prudent operators test before loaded voyages into heavy weather. The annual test and survey results form part of the evidence that the vessel is cargo-worthy, and keeping proper records of them is what demonstrates compliance to class and charterers and protects the vessel if a wet-damage claim arises.
Does overtightening the cleats improve the seal?
No — it is a common misconception that does more harm than good. Overtightening cleats restricts the flexibility the hatch cover system needs, can damage the rubber packing and the securing gear, and does not improve weathertightness. The correct compression is designed into the system and achieved with properly adjusted, sound cleats. If a cover will not seal at correct cleat tension, the fault lies in the packing, compression bar or alignment and should be repaired — tightening harder only masks the problem and risks further damage. Replacing only some cleats can also unbalance the system and overload the remaining ones.
Why do hatch covers leak even when they look closed?
Because weathertightness depends on adequate, even compression of the rubber packing against the compression bar all around the perimeter and cross joints — and that is invisible when the cover is battened down. A cover can appear fully closed while the packing is hardened, deformed, worn or unevenly compressed, or while a corroded bar or blocked drainage channel opens a leak path. Visual inspection catches obvious damage but cannot confirm compression, which is exactly why testing exists. The components most often responsible are degraded packing, worn compression bars, blocked drainage channels and loose or overtightened cleats.
Can ultrasonic testing be done with cargo in the hold?
Yes, and this is one of its main advantages. Because the method places a signal generator inside the hold and scans the compression joints from outside, it can be carried out with the hold loaded, unlike the hose and chalk tests which require access and dry, unloaded conditions. It is also independent of weather. This means weathertightness can be verified at stages where the other methods are impractical, and the numerical readings give an objective, documented result showing the exact location and relative severity of any weak point, which is why it is the method preferred by P&I clubs and recognised by class.
Keep Every Hatch Provably Weathertight
Marine Inspection schedules hatch cover tests, records ultrasonic readings and chalk and hose results per hatch, tracks packing, bar and cleat condition, and keeps the weathertightness evidence class, charterers and claims surveyors ask for organised and retrievable across your fleet. Turn cargo protection from scattered notes into a documented, defensible record.